At Goodbye Blue Monday in Boulder, we follow a very specific process to make sure each and every custom screen print is perfect and to our client’s satisfaction. Learn more about the custom screen printing process, and contact us today if you have an amazing design you’d like to see made real.
Step 1: Design
First thing’s first — we need a sweet design to create a stencil for the screen. A vector file works best, which we print out in black onto transparent acetate film.
Step 2: Prepare The Screen
Next, we pick out the perfect screen to apply the stencil to. We take the intricacy of the design as well as the type of material we’re printing onto into consideration when choosing the best screen for the job.
Step 3: Expose The Emulsion
The screen is coated in a layer of light-reactive emulsion. We then apply the acetate film to the screen and expose the entire setup to an extremely bright light. The emulsion that is exposed to the light will harden, while the emulsion covered by the black design will stay soft.
We prepare one screen for each layer of color, lining the designs up precisely to get the best results.
Step 4: Rinse Off Emulsion
Once exposed to light, the screen is rinsed, removing the soft emulsion that the design covered. This effectively creates the stencil that will be used to create the final product.
The screen is left to dry so that no water droplets from the rinsing process interfere with the ink.
Step 5: Prepare To Print
Once dried, the screens are attached to a printing press, and the print material or item of clothing is placed flat on the printing board.
A screen printing press can either be run manually or automatically. Automatic presses are best for multi-color jobs or bulk jobs, as the press can run quickly to apply the separate colors or run ink passes across multiple shirts at once.
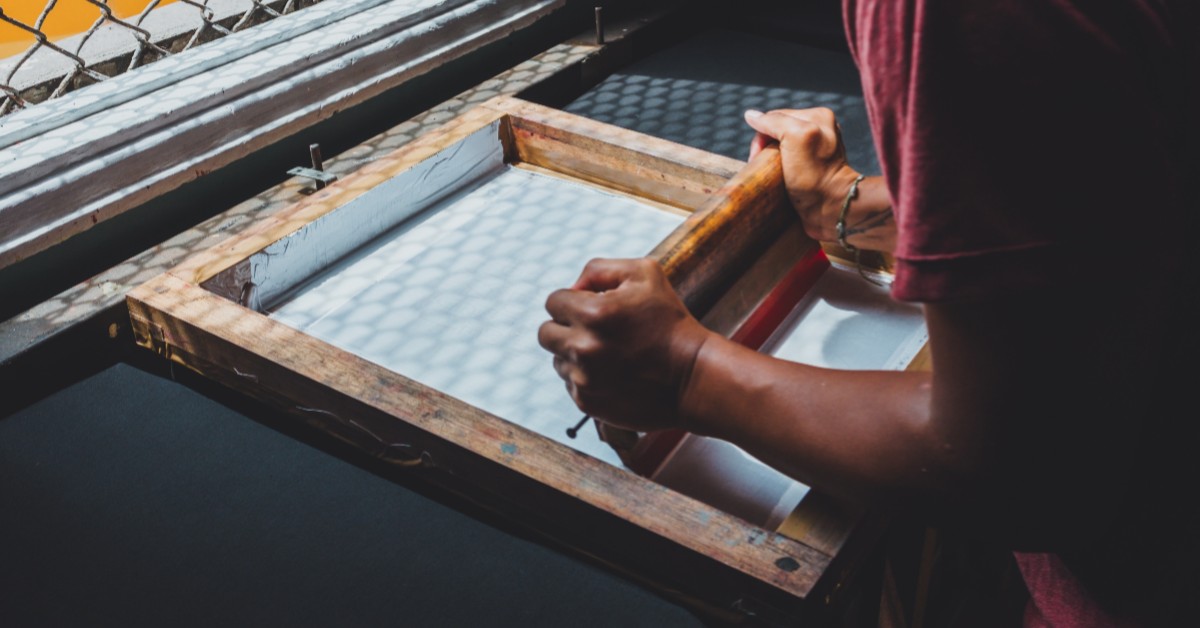
Step 5: Ink The Screen
Once the screen has been attached to the press and the material is laid out on the print board, we lower the screen to apply the ink. Ink is added to the top of the screen and then pulled across the entire length of the screen with a squeegee.
As the squeegee pulls the ink across the screen, the ink passes through the stencil of the mesh and is applied to the print material underneath.
Step 6: Dry The Product
After all of the colors have been applied to every piece of print material, the finished product runs through a dryer to cure the ink. This ensures that the ink bonds to the material of the product, making it smooth and waterproof.
At Goodbye Blue Monday in Boulder, we are able to create a variety of products using custom screen printing. While screen printing is most popular for fabric, we can also print on paper materials. If you have an awesome idea for a custom screen print, contact us today to get a quote and get started.